

Please note: This is a public-facing article.
Contents
- Step One: Identify a replacement email address for your Business "Personal Type"/ Non-Managed Apple ID.
- Step Two: Change your Apple ID to a different business email address
- Step Three: Create the Managed Apple ID
- Step Four: Account-driven Enrollment using a Managed Apple ID
Pre-requisites:
- Apple Business Manager (ABM) Administrator Access (People Manager or above).
- Mosyle MDM Administrator or MSP Partner Access
- Microsoft 365 Administrator Access
- Access to the User's existing Apple ID to change the email address
- Access to the User's Inbox to retrieve the PIN code sent by Apple
- Access to the User's iOS Device
Step One: Identify a replacement email address for your Business "Personal Type"/ Non-Managed Apple ID.
- Login to Microsoft 365 Admin Centre and go to Users.
- Find the User in question and select the User in the list to open the info pane.
- Now click Manage Username and Email or copy the .onmicrosoft.com address from the Alias list.
Step Two: Change your Apple ID to a different business email address
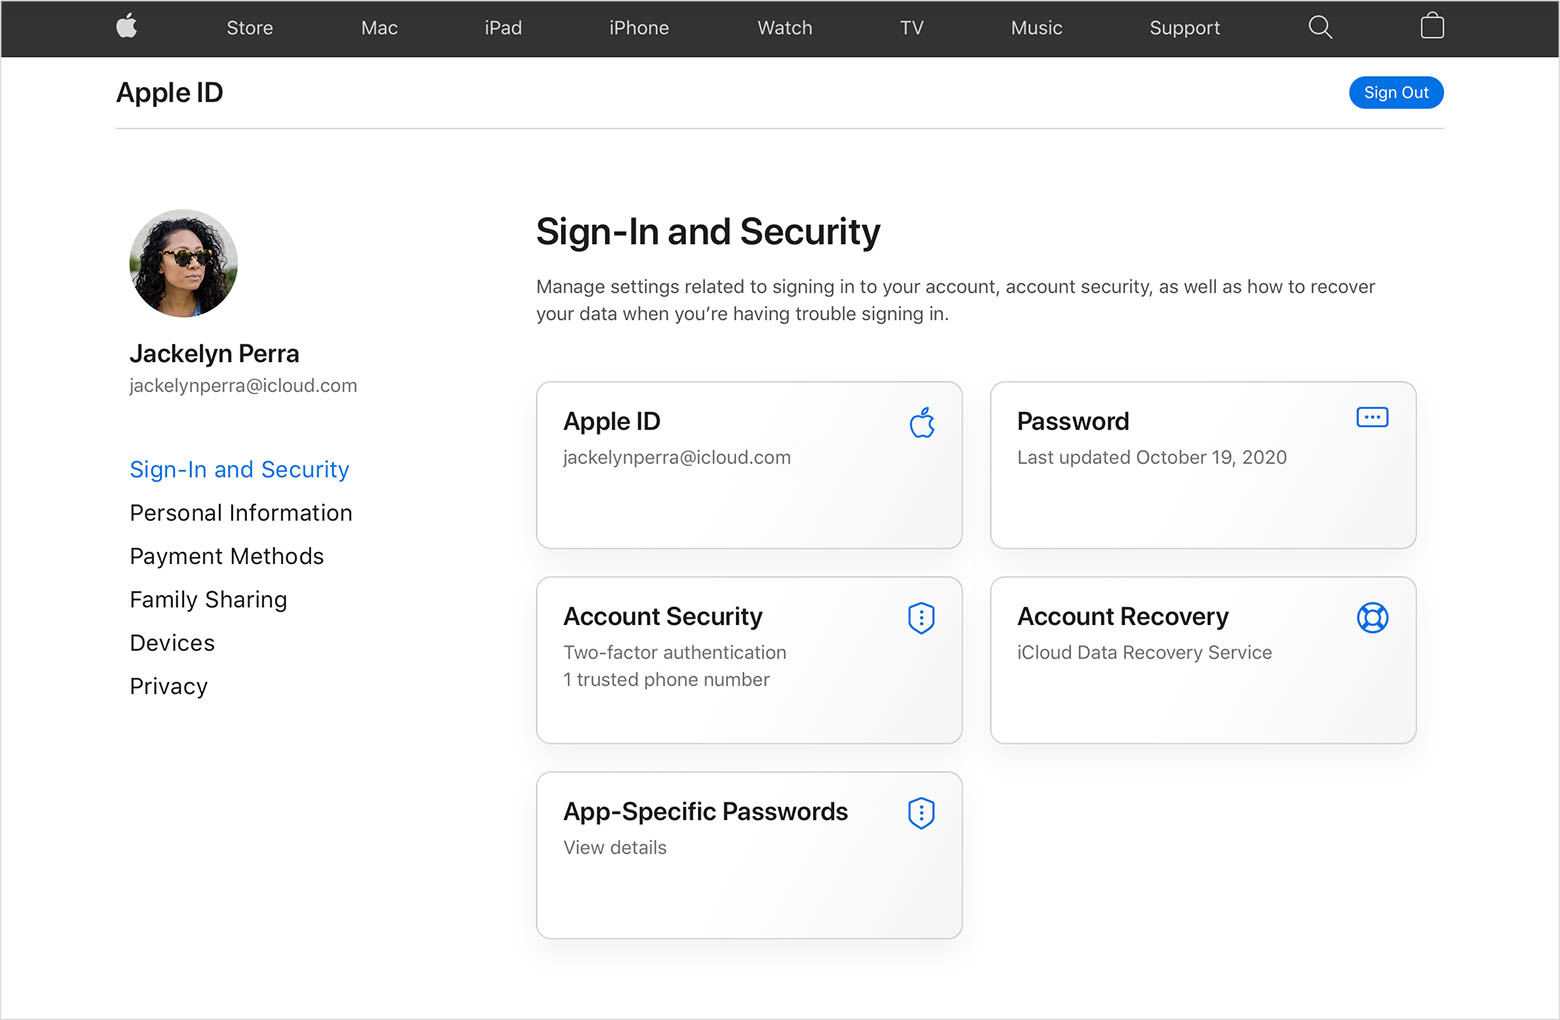
- Go to appleid.apple.com/uk and sign in.
- In the Sign-In and Security section, choose Apple ID.
- Enter the email address that you want to use as your Apple ID. We recommend using the associated .onmicrosoft.com address for this.
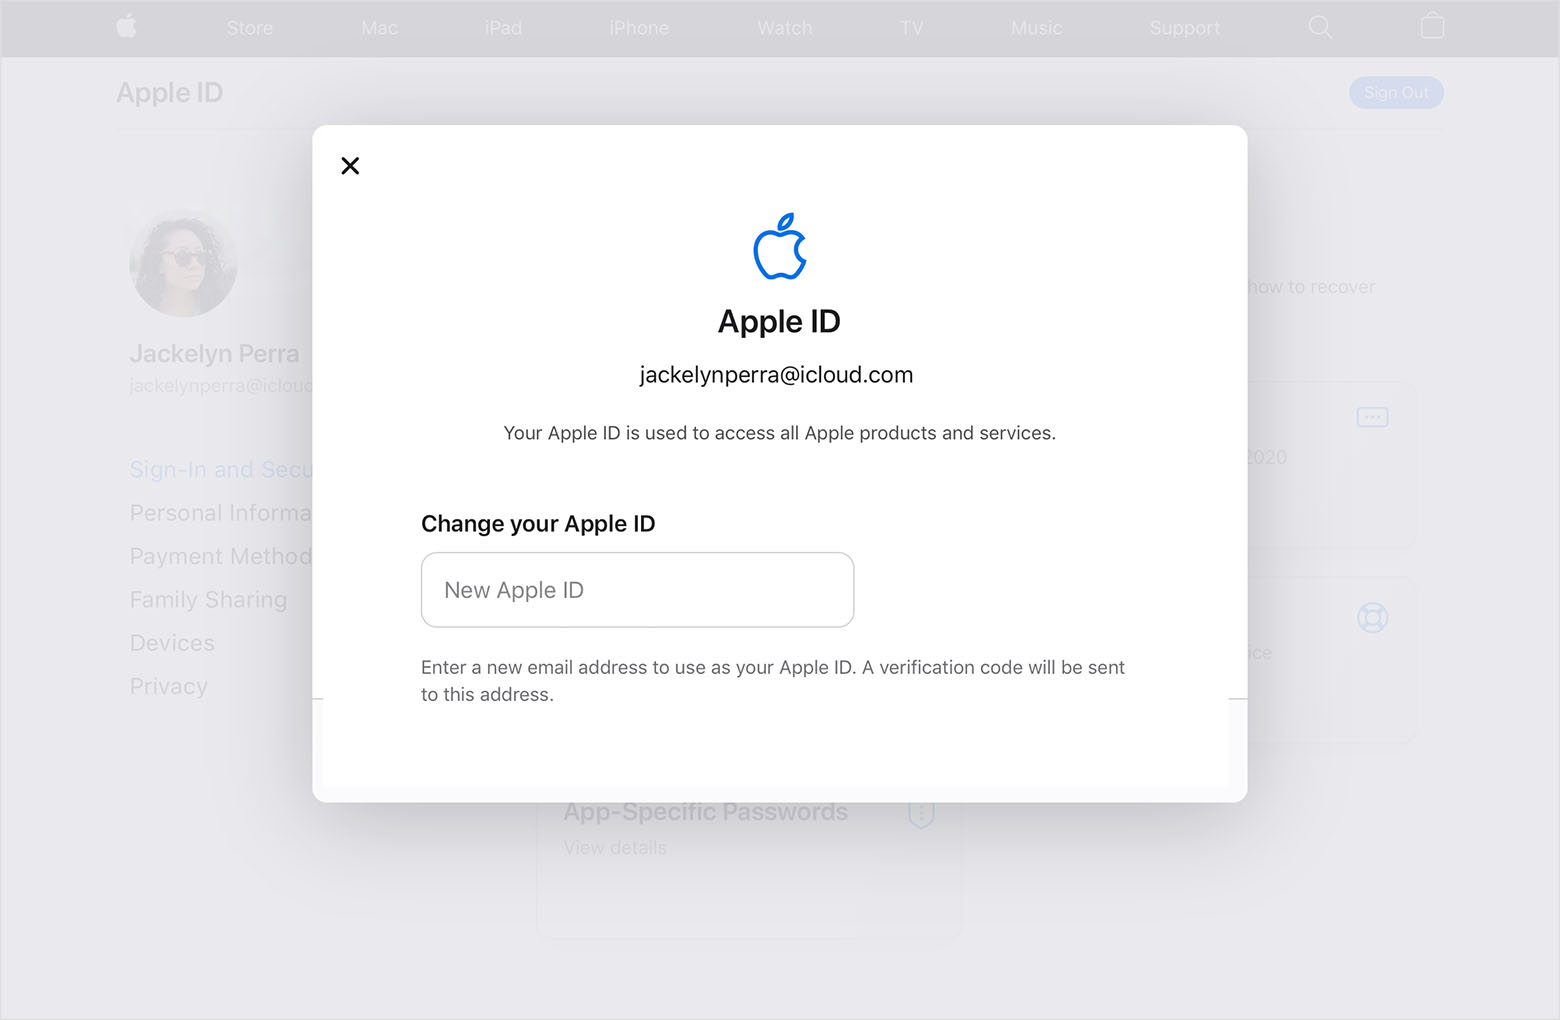
- Choose Change Apple ID.
- If you've changed your Apple ID to a third-party email address, check your email for a verification code, then enter that code. Find out what to do if you didn't receive the email.
- If you use services like iCloud or Messages to share things with friends and colleagues, sign in to those services with your updated Apple ID.
Step Three: Create the Managed Apple ID
- Now login to Apple Business Manager and go to Users
- Click Add
- Add the Managed Apple ID as the new user using their primary company email address in both Managed Apple ID and under Email. Be sure to select the Role of Staff (unless the user will be responsible for adding devices to Apple Business Manager).
- Click Save.
- Next, click "Create User Sign-In"
- Select Downloadable PDF, click Continue
- Now, copy and paste the credentials generated and store them somewhere safe:
- Next, in a different browser to the one above or in a private browsing window, head to https://business.apple.com and log in with the newly generated credentials. Add the user's mobile to 2FA and change their password to something secure.
- That's the Managed Apple ID created on the original account address!
Step Four: Account-driven Enrollment using a Managed Apple ID
For use with Mosyle MDM only.
- Login as an administrator to https://mybusiness.mosyle.com
- Click "Organization" and toggle down "Users & Groups."
- Select End Users
- Find the Employee in the list and select them to reveal the info pane
- Click Edit under their information
- Enter in their newly created Managed Apple ID like below:
- Next, Click "Organization", and toggle down Apple Basic Setup, click "Enrollment"
- Ensure the drop-down at the top is on "iOS / iPadOS / watchOS" and click "Account Driven Enrollment" in the bottom left corner.
- Next, take note of the unique identifier and click Save Preferences (only required on the first visit to the page).
- Next, on the iOS/iPadOS device, head to Settings > General > VPN & Device Management and tap Sign In to Work.
- Now enter the full unique identifier. In this case, it would be helptrainlearn@mybusiness.mosyle.com and the button to proceed.
- Now login with with newly created Managed Apple ID and password set up above.
- When prompted, Tap "Allow Remote Management".
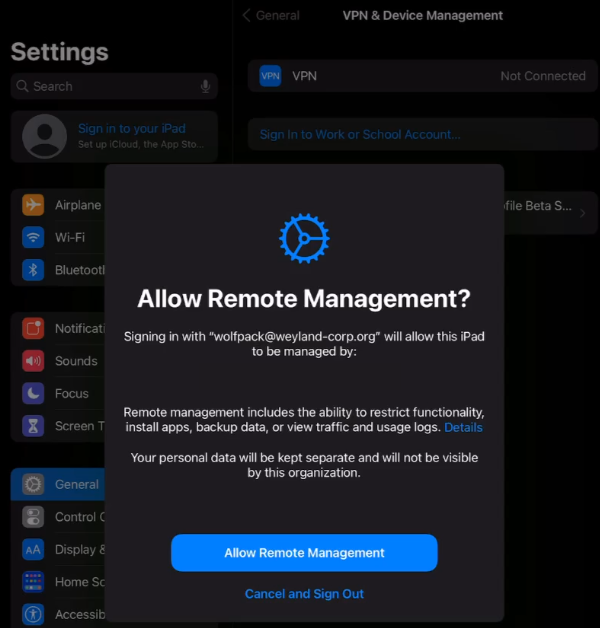
- The device is now enrolled into Mosyle to allow the benefits of using both Personal and Managed Apple IDs on the same device, such as segregated Work and Personal Data, the Ownership of Business Data and the facility to wipe Business data from Personal devices.
For more information, watch this video.
If you are a customer and you have problems with this process, please click here to raise a support request.
Comments
0 comments
Please sign in to leave a comment.